Video Recording Tips & FAQ |
|
Overview |
|
Welcome, to video tips & tricks.
|
|
Table of Contents |
|
|
1. TERMINOLOGY
|
7. LIGHTING
|
1. Terminology |
|
First, we need to catchup on our vocab, and ensure we're speaking the same language. Our definitions of the following are:
With the terms out of the way, lets talk more about each, with some examples of what they look like, and why we suggest you use a particular setting / approach. |
|
2. FPS |
|
|
12 FPS 
|
18 FPS 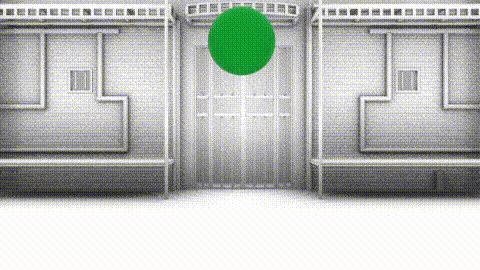
|
|
24 FPS 
|
30 FPS 
|
|
We Recommend: 24fps (30 is okay too) Almost all cameras will allow you to specify a frame rate, and we suggest using 24 frames per second. While 30fps can produce a "smoother" look, 24 is a strong standard for feature film, and provides a bit of that cinematic feel to the piece. It's also less photos per second, allowing a smaller total file size. It's a Win, Win. |
|
3. Resolution |
|

|
|
|
We Recommend: 1920x1080 (HD)
Most cameras and phones, will allow you to set what resolution
you want to film at. This is a very important factor for the overall
quality of your piece, and a higher resolution is desired.
While 1280x720 is acceptable, its best to aim for full HD.
|
|
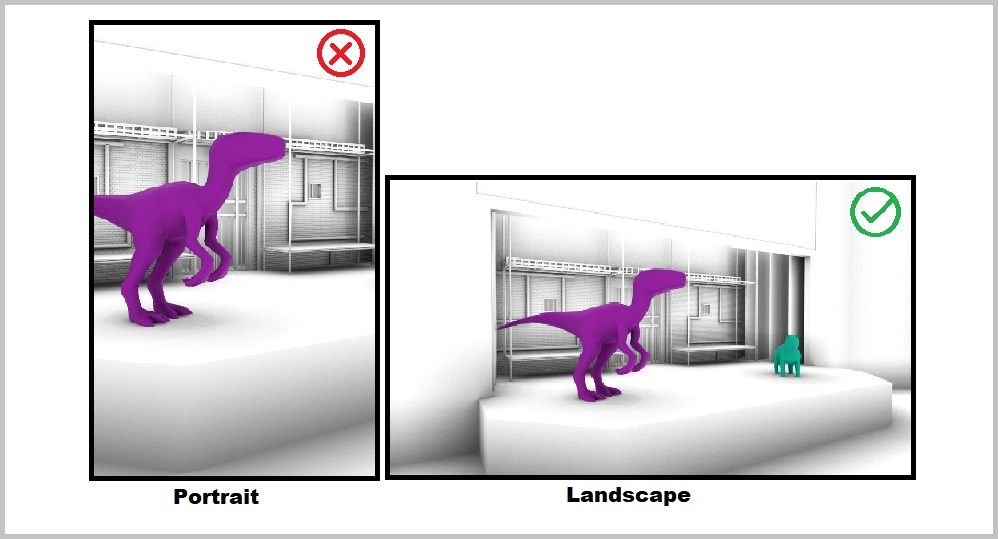
4. Orientation |
|
|
|
|
We Recommend: Landscape (Horizontal) A wider frame horizontally allows you to capture more of the stage / scene, and aligns better with most modern day screens. |
|
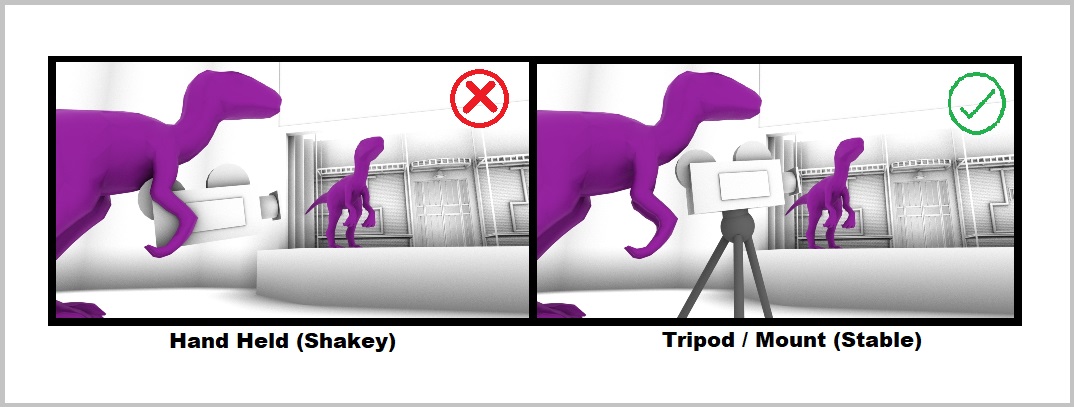
5. Tripods vs Hand Held |
|
|
|
|
We Recommend: Tripods or another form of mount to stabilize the camera.
We strongly discourage the use of hand-held where possible. This is because
unexpected motion to a camera, distracts us from the scene, and instead
draws our attention to the motion. A well executed shot with smooth motion,
will go unnoticed, but a hand-held shot almost always is distracting.
|
|
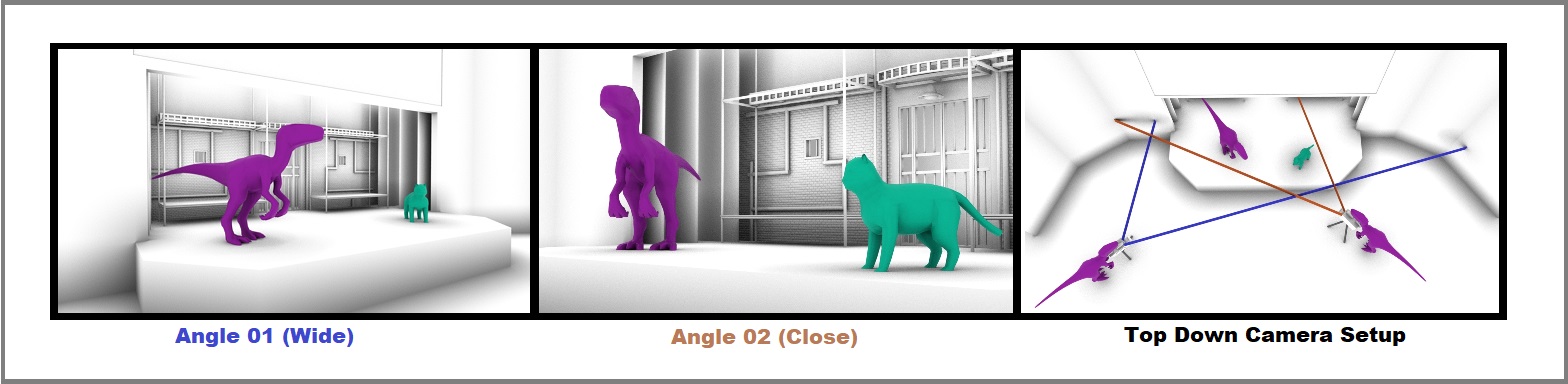
6. Zooming |
|
|
Zoom Lens 
|
Two Angle Setup 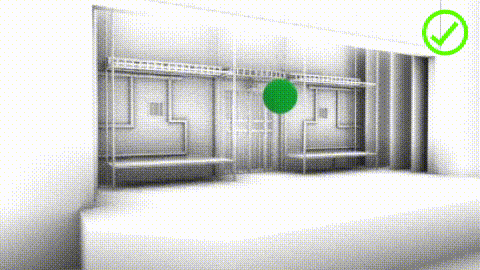
|
|
We Recommend: Not zooming the camera while filming.
Similar to hand-held motion, zooming in or out draws our attention to the camera motion and away from the scene. Additionally, it takes specialized equipment and
a steady hand to master a seamless zoom between two focal lengths. Instead, try
using two cameras from two different angles, one wide and one close.
The cuts between angles may seem jarring at first, but as viewers get lost
in the scene, they'll forget all about the cuts.
(Try watching a tv show, and counting the cuts, you'll be amazed.)
|
|
|
|
|
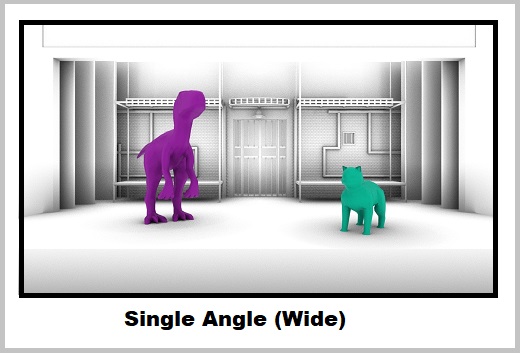
Only have access to one camera / angle?
|
|
|
|
|
Example of framing for a single straight on angle. (Make sure to use a tripod / mount) |
|
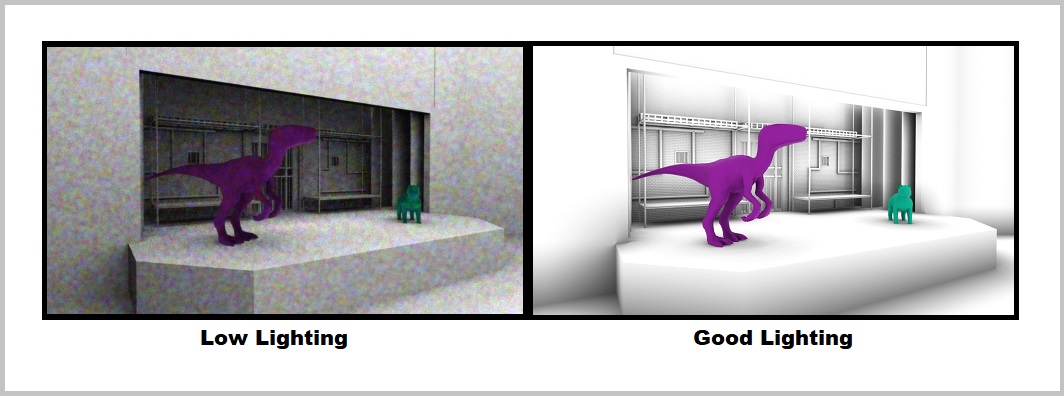
7. Lighting |
|
|
|
|
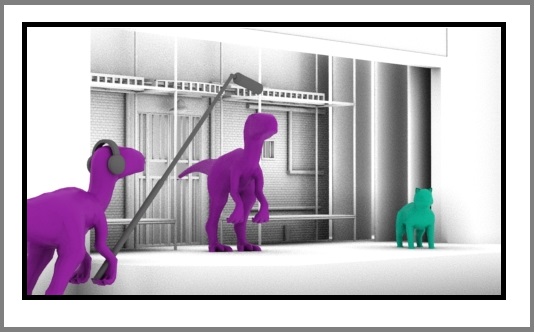
We Recommend: Always add more lights.
Lighting is a very important factor for creating a high quality video. This is because
the techniques camera's use to compensate for low light environments, often leads to visible
noise or grain as seen above.
|
|
8. Cameras / Phones |
|
|
|
|
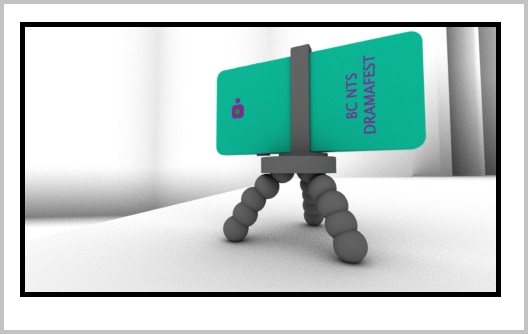
We Recommend: Try out your phone.
Phones have become amazing pieces of technology and can produce surprisingly great video results.
Top tier models can even out perform DSLR cameras. If you don't have
immediate access to a video camera or even if you do, we suggest testing your
phone and comparing the results. Just make sure to mount it or
prop it up in some way to ensure a stable shot.
|
|
9. Sound |
|
|
|
|
We Recommend: Record separate sound.
Cameras are usually located quite far from the stage to aid
in better angles, and wider shots. However; this makes it difficult
for the audio quality. Some good techniques around this, is
attempting to mic the actors and record the feed directly into
the sound system.
|
|
10. File Formats |
|
|
|
|
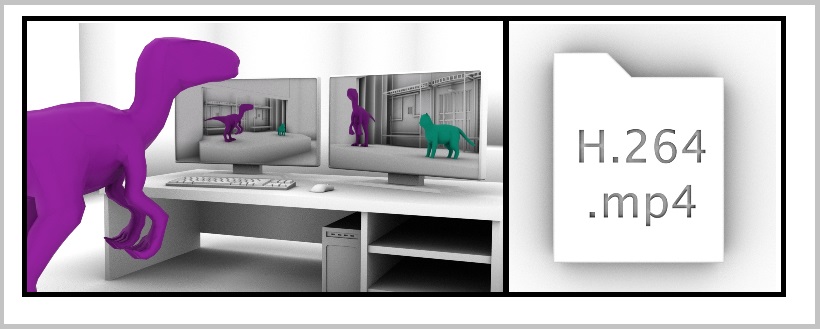
We Recommend: H.264 or H.265 (in an .mp4 container.)
If your camera supports changing file formats, we suggest a compressed
format such as h.264 or HEVC (h.265). Tests indicate you can record around 1 hour's worth of 1920x1080 HD 24fps footage with a final file size around 7GB. We will be accepting file submissions up to 10GB which should be more than enough with our ~20 minute video submission limit.
|
|
11. Summary |
|
|
|
|
Settings and codecs to remember:
1920x1080 24fps H.264 (H.265) <10GB Landscape Video.
We look forward to seeing all of your wonderful and creative submissions! Should you have any questions, comments or concerns with the information on this page, please don't hesitate to contact us. |
|